
Teyleten Robot LM2596 Buck Converter w/ LED Voltmeter (5-Pack)
Adjustable 4–40V → 1.25–37V regulators with a built-in voltmeter — dial in 6V for your servos.
Best for: A clean 5–6V servo rail

The single most common robotic-arm failure is powering the servos from the Arduino’s 5V pin: under load they sag the voltage and reset your board. The fix is a separate supply stepped to 5–6V with a buck converter like the LM2596. Pair one with a 2–5A DC adapter or battery, set the output voltage, and feed it straight to the servo driver’s power terminal — never through the microcontroller.
As an Amazon Associate we earn from qualifying purchases. Prices and availability are accurate as shown on Amazon at the time of purchase.
Adjustable 4–40V → 1.25–37V regulators with a built-in voltmeter — dial in 6V for your servos.
Best for: A clean 5–6V servo rail
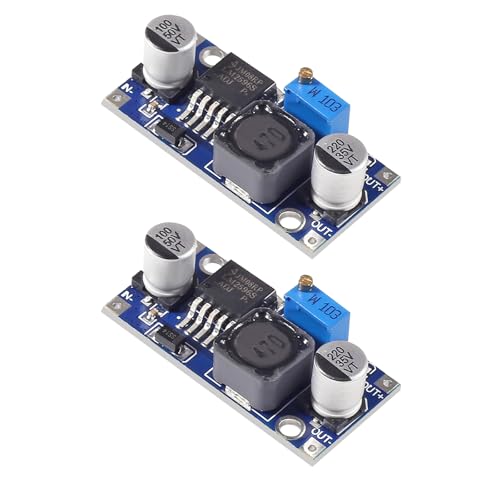
Simple, cheap step-down modules to drop a 12V supply to servo-safe voltage.
Best for: Budget voltage regulation
Pick the right robotic arm power supply, size current from servo stall draw, wire a common ground, and stop brownouts that reset your Arduino or Pi.
Parts & hardwareA practical guide to choosing servo motors for a DIY robotic arm — how to calculate torque, SG90 vs MG996R vs serial bus servos, and how to power them without jitter or resets.
Builds by platformBuild a 4-DOF Arduino robotic arm with hobby servos. Full parts list, wiring diagram, power tips and copy-paste Arduino code to control it with potentiometers or serial commands.